
Flask Application Dockerization: Creating a Docker Image
Introduction
In the fast-paced software development industry, mastering robust application management and smooth deployment is crucial. Docker, a game-changing technology, has revolutionized software distribution, running, and bundles by separating applications from infrastructure, enabling quick software delivery. It improves portability, scalability, and workflow optimization, making it a standard component in current development practices. This article aims to explain the complexities of Docker and demonstrate its application by Flask application dockerization.
Docker is a software platform that revolutionizes the way we encapsulate and deploy software. Its core concept is containerization, which offers a manageable, independent environment for executing applications. This standardization standardizes the packaging of everything from code to dependencies, allowing developers to build, ship, and run applications across various environments.
What is Docker?
Docker is a platform for developing, shipping, and running applications using containerization technology. It enables developers to package applications and their dependencies into lightweight containers, which can run consistently across different environments. This facilitates easier deployment, scaling, and management of applications.
Components of Docker
- Docker Image: Docker images are the foundation of containers, a lightweight, executable package containing libraries, configuration files, and dependencies. They are immutable and cannot be modified once formed.
- Docker Containers: Docker containers are host machine instances of Docker images, encapsulating application code, runtime, system tools, libraries, and settings. They provide consistency, portability, and ease of construction, start, stop, or termination.
- Data Volume: Docker volumes store and share data between containers and host systems, preserving database files, configuration files, logs, and other data beyond a container’s lifecycle. They offer performance, dependability, and flexibility in containerised settings.
- DockerFile: Dockerfiles are text files with instructions for creating Docker images, including installation, copying, setting environment variables, configuring, and running. They enable automated, reproducible image builds, allowing developers to create custom images for unique applications.
- Docker Engine: The Docker Engine, the core component of the Docker platform, manages volumes, networks, images, and containers. It comprises subcomponents like the Docker client and Docker daemon, and additional components like the Docker API and plugins.
These components form the foundation of the Docker platform, enabling developers and operators to build, ship, and run applications efficiently and reliably in any environment.
What is Containerization?
A container is a standard software unit that encapsulates code together with all of its dependencies to enable rapid and dependable application execution across various computing environments. Code, runtime, system tools, system libraries, and settings are all included in a small, standalone, executable software package known as a Docker container image.
In the case of Docker containers, images become containers during Docker Engine operation. Container images become containers during runtime. Containerised software is available for both Windows and Linux-based apps, and it will always function the same way regardless of the infrastructure. Containers allow software to be isolated from its surroundings and guarantee consistent operation even in cases of variations, such as between development and staging environments.
How is Containerization Different From Virtual Machine?
What differentiates Docker from other options for containerisation? Its adaptability, efficiency, and ease of use are its major components. Docker containers share the host OS kernel, meaning they operate better and use fewer resources than virtual machines, which need separate operating systems and a lot of overhead. The utilisation of a lightweight technique not only speeds up deployment times but also facilitates swift scaling and effective resource management, which are crucial characteristics in the current dynamic computing environment.
While virtual machines (VMs) also enable running multiple applications on a single physical machine, they operate at the hardware level, requiring a separate operating system (OS) for each VM. In contrast, Docker containers share the host OS kernel, resulting in significantly lower overhead and faster startup times. Docker containers are also more lightweight and portable compared to VMs, making them ideal for microservice architectures and cloud-native applications.
Understanding Docker Commands
Before Starting with dockerization of our flask app, lets understand the basic docker commands.
docker run command
The docker run command is used to create and start a new Docker container based on a specified image. It allows you to specify various options and parameters to customize the container’s behavior. For example:
docker run <img>docker ps command
The docker ps command is used to list all running Docker containers. It provides information such as the container ID, image used, command being executed, creation time, status, and ports mapping. If you want to see all containers, including those that are stopped, you can use the -a flag.
docker ps -adocker rm command
The docker rm command is used to remove one or more Docker containers. You need to specify the container ID or name of the container(s) you want to remove. You can remove image with rmi.
docker rm <name_container/id_container>
docker rmi <image_name/id>
There are commands which are similar to those in git commands and works in a similar way like dock pull dock push.
How to Dockerize a Flask Application?
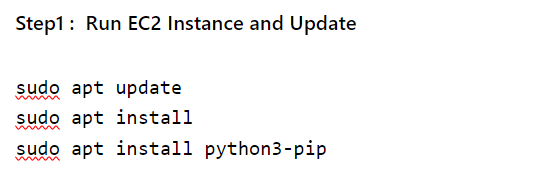
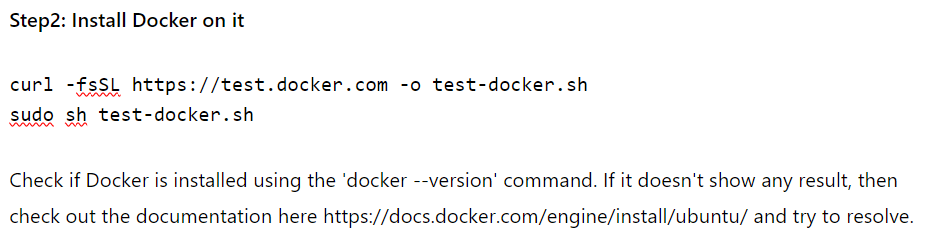
Now, let’s walk through the steps to dockerize a Flask application. we will perform the dockerisation on Ubuntu EC2, Simply create EC2 instance with microservices and Allow inbound rules which sets the port to be open at 5000 and also allow all traffic. After connecting your EC2 instance with ssh. Run the commands to update and upgrade first before installing docker on it.
Let us look into the steps of how to dockerize a flask application:

flask_app/
├── app.py
├── requirements.txt
├── templates/
│ ├── index.html
│ └── nextpage.html
├── static/
│ ├── css/
│ │ ├── styles.css
│ │ └── styles2.css
└── Dockerfile
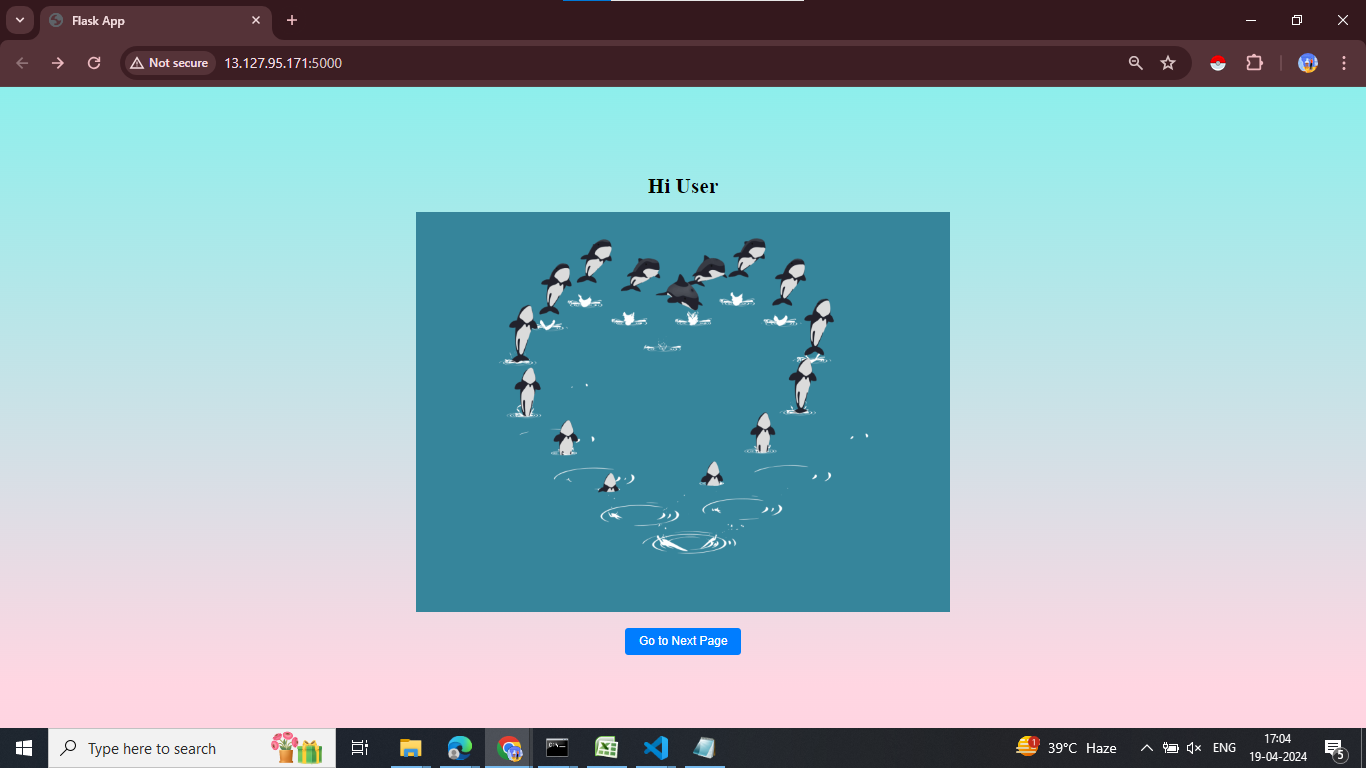
After running app.py, we will get an output like this :
You can create your flask application on your local (computer) and send it to ec2 using the below commands.
scp -r /path/to/local/directory username@ec2-instance-ip:/path/to/destination/directory- scp: Stands for “secure copy”, used to copy files securely between hosts on a network.
- -r: Recursively copy entire directories.
- /path/to/local/directory: Replace this with the path to the directory on your local Ubuntu laptop that you want to send.
- username: Replace this with the username of your EC2 instance.
- ec2-instance-ip: Replace this with the public IP address or hostname of your EC2 instance.
- /path/to/destination/directory: Replace this with the path to the directory on your EC2 instance where you want to copy the files.
Step4: Creating Dockerfile
Create a dockerfile with named “Dockerfile” in the directory to create a docker image.
FROM python:3.8-slim

# Set environment variables
ENV PYTHONDONTWRITEBYTECODE 1
ENV PYTHONUNBUFFERED 1

# Set the working directory in the container
WORKDIR /app

# Copy the requirements file into the container at /app
COPY requirements.txt /app/

# Install any dependencies specified in requirements.txt
RUN pip install --no-cache-dir -r requirements.txt

# Copy the current directory contents into the container at /app
COPY . /app/

# Expose port 5000 to the outside world
EXPOSE 5000

# Command to run the Flask application
CMD ["python", "app.py"]
Understanding Each Section
This is a Dockerfile used to containerize a Flask application. Let us understand each section:
- FROM python:3.8-slim: This line specifies the base image to use for the container. In this case, we are using the official Python 3.8 slim image as the base image here.
- ENV PYTHONDONTWRITEBYTECODE 1 and ENV PYTHONUNBUFFERED 1: These lines set environment variables in the container to optimize Python running in a Docker container. PYTHONDONTWRITEBYTECODE prevents Python from writing bytecode (.pyc) files to disk, and PYTHONUNBUFFERED ensures that Python outputs are sent straight to stdout and stderr without buffering.
- WORKDIR /app: This sets the working directory inside the container to /app, meaning that all subsequent commands will be executed from this directory.
- COPY requirements.txt /app/: This copies the requirements.txt file from the local files system into the /app directory within the container.
- RUN pip install –no-cache-dir -r requirements.txt: This command installs the Python dependencies listed in requirements.txt into the container. The –no-cache-dir option ensures that pip does not cache downloaded packages.
- COPY . /app/: This copies the entire contents of the current directory (the Flask application code, including app.py, templates, and static files) into the /app directory within the container.
- EXPOSE 5000: This exposes port 5000 on the container. It doesn’t actually publish the port, but it informs Docker that the container will listen on port 5000 at runtime.
- CMD [“python”, “app.py”]: This specifies the command to run when the container starts. It runs the Flask application by executing python app.py.
Step5: Build Docker Image
When you run docker image build command, Docker will read the Dockerfile in the current directory, execute each instruction in the Dockerfile to create layers, and then assemble those layers into a Docker image tagged as my-flask-app(name we chose here). This image will contain everything needed to run your Flask application, including Python dependencies, application code, and configuration settings.
docker build -t my-flask-app .- docker image build: This is the Docker command used to build Docker images. It tells Docker to build an image based on the instructions provided in a Dockerfile.
- -t my-flask-app: This option tags the image with the name my-flask-app. Tags are used to label Docker images with a specific name and optionally a version. In this case, test_docker is the name of the image.
- . (dot): specifies the build context. It tells Docker to look for the Dockerfile and any other files needed for the build process in the current directory. The dot (.) represents the current directory.
You will see an output like this,

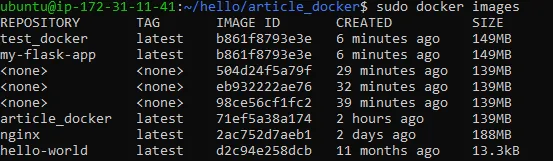
Lets see if the image is there or not.
sudo docker images
Step6: Lets Docker Run the Image We Created
sudo docker run -p5000:5000 my-flask-appThis command runs a Docker container based on the Docker image named my-flask-app and maps port 5000 on the host to port 5000 on the container.
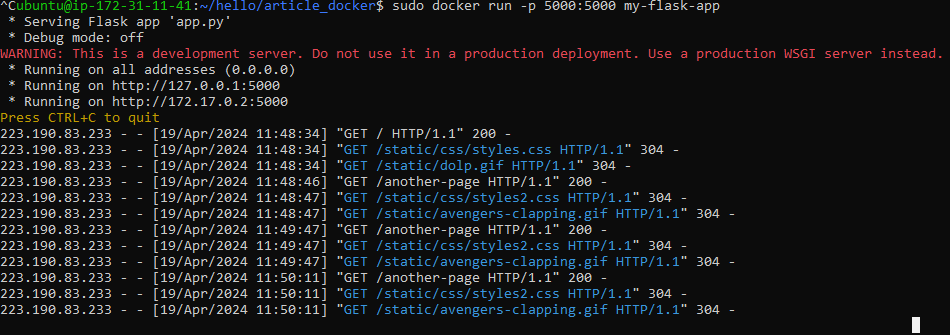
You can run it on the Docker public IP, which is 172.17.0.2:5000
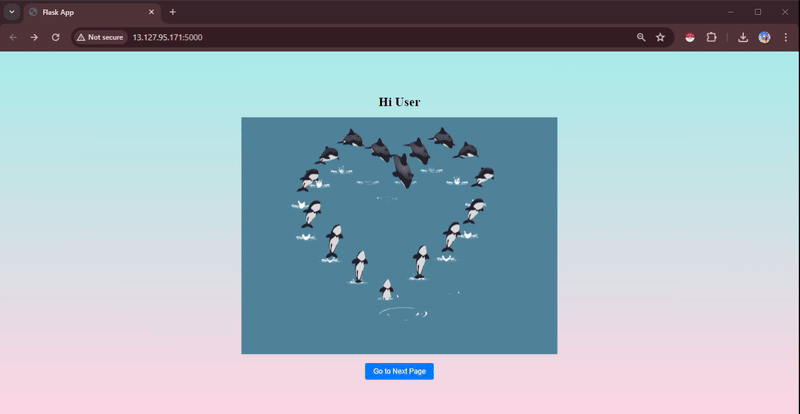
The Output looks like this:
Furthermore, Docker enables collaboration and sharing of applications. After Dockerizing your application, you can push the Docker image to a public repository using the docker push command with your username. This makes your application accessible to others, promoting collaboration and facilitating deployment across teams and environments.
Steps to Push Docker Image to Docker Hub
To push the Docker image to Docker Hub for public use, you need to follow these steps:
Step1: Log in to Docker Hub
First step is to log in to docker hub using the docker login command and you have to enter your Docker Hub username and password.
sudo docker login Step2: Tag Docker image
Second step is to tag your docker image with your Docker Hub username and the repository name, user211 is the example username for docker hub account
sudo docker tag my-flask-app user211/my-flask-appStep3: Push Tagged Image to Docker Hub
sudo docker push user211/my-flask-appThis command uploads your Docker image to Docker Hub under your account. The image will be publicly accessible unless you’ve set it to private in your Docker Hub settings.
After executing these commands, your Docker image will be available on Docker Hub for public use under your specified repository name. Others can pull this image using docker pull your-docker-hub-username/my-flask-app.
Conclusion
Docker is a transformative technology that revolutionizes software distribution, management, and bundles. It separates applications from infrastructure, allowing developers to deliver software quickly while managing infrastructure like applications. Docker enhances portability, scalability, and workflow optimization, making it an essential component of modern development practices. By dockerizing a Flask application, it demonstrates its practical application in streamlining application deployment and management, providing a lightweight, independent environment for executing applications.
Key Takeaways
- Docker simplifies application management and deployment by separating applications from infrastructure.
- Docker containers provide a lightweight, independent environment for executing applications, enhancing portability and scalability.
- Docker’s efficiency and ease of use make it a standard component of modern development practices.
- Containerization streamlines application deployment and management, eliminating compatibility issues and complexities.
- Docker enables collaboration and sharing of applications, facilitating deployment across teams and environments.
Frequently Asked Questions
A. Docker is a platform that allows you to package, distribute, and run applications in containers. Containers are lightweight, portable, and self-sufficient units that encapsulate all the necessary components to run an application, including code, runtime, system tools, libraries, and settings.
A. Unlike virtual machines, which require separate operating systems for each VM and consume more resources, Docker containers share the host OS kernel, resulting in lower overhead and faster startup times. Docker containers are also more lightweight and portable, making them ideal for microservice architectures and cloud-native applications.
A. Dockerization offers several benefits, including enhanced portability, scalability, and workflow optimization. It simplifies application management and deployment by separating applications from infrastructure and provides a consistent environment for running applications across different environments.
A. To Dockerize your application, you need to create a Dockerfile that specifies the steps to build your application’s Docker image. This includes defining the base image, setting up the environment, installing dependencies, copying the application code, and specifying the command to run the application. Once you have a Dockerfile, you can build the Docker image using the docker build command and then run the container using the docker run command.